Making Webcomic Pages into Scroll Format in 3 steps
By Bearumha | TipsandTutorials
Feb 06, 2023
A quick guide on how I make my webcomic pages into scroll format. A three-step easy tutorial!
STEP 1 – Prepping your file
This is usually the last step for me on my webcomic process.
I tend to leave making a chapter into scroll format until the very end. That way, I understand the flow and I don’t plan on adding any more changes anymore.
First step is to organize your layers. For each page, I put all the art into one folder and all the text into another folder. I would duplicate the art folder and merge all of them together.


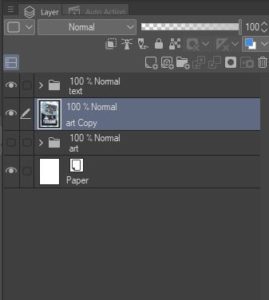
You could merge the texts into one layer too, but I find it better to put them all in a folder. (I’ll explain why later)
STEP 2 – Making a Webtoon file
Now, I would make a new webtoon scroll format file. I tend to make my webtoon page setting:
Width:1600px
Height: 50000px (max height on Clip Studio Paint)
I don’t know how long a chapter would take. If I need more space, I will add another page; if I don’t need that much space, I can crop the canvas later.
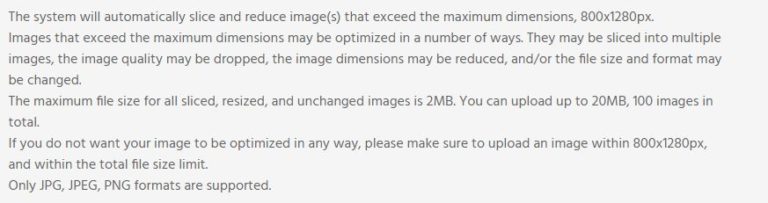
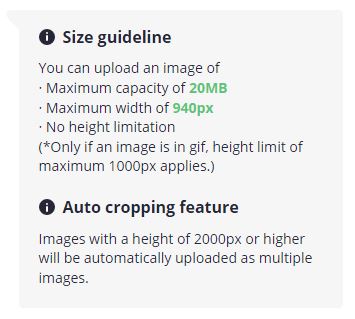
And when I export the webtoon, I will save it as width: 800px. I do this so it can upload on Webtoons and Tapas. (Make sure to check what is the maximum width you can upload on the platform you plan on uploading your webcomic.)
STEP 3 – Moving from One file to the Other
Once you set up your webtoon scroll format, it is time to transport everything into the scroll format file.
I like to have them both on a split screen so I can go back and forth.
Use the lasso tools copy and paste. I tend to copy and paste all the images first and then lasso the texts afterward.
You might have to resize them. Depending on your files, the picture might be too small or big to fit in the webtoon file.
For the texts, I put them in a folder instead of merging them like I did with the art layers, so it stays consistent. If you were to merge it into one layer, I find that you could easily make the sizes all different, and it’s hard to eye it out and make them the same size. Even though it makes a copy of the folder every time you paste it onto the webtoon file and changing each speech bubble and text take a long time. It makes everything more consistent.
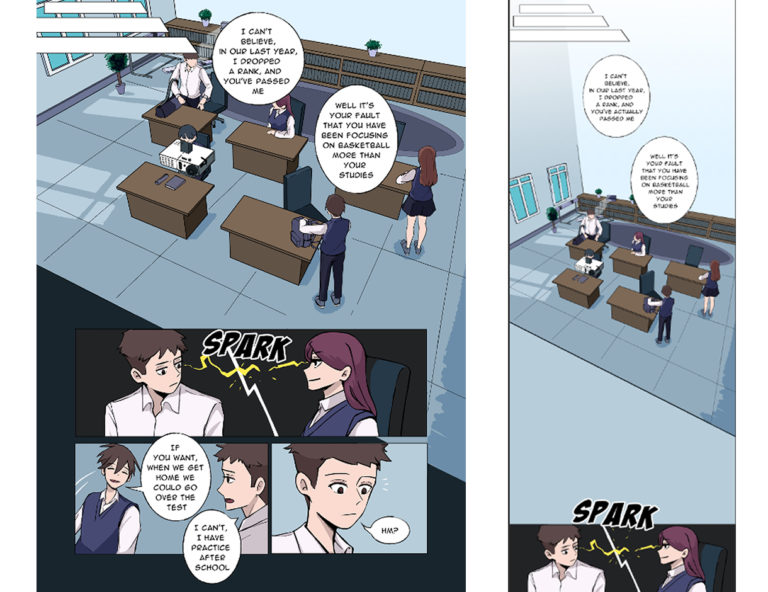
Placement of panels and text
Unlike in webcomics,, for vertical format, people read up to down. Make sure the text and art flow downwards.
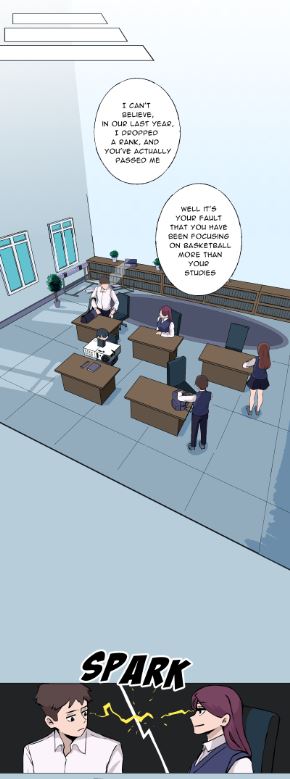
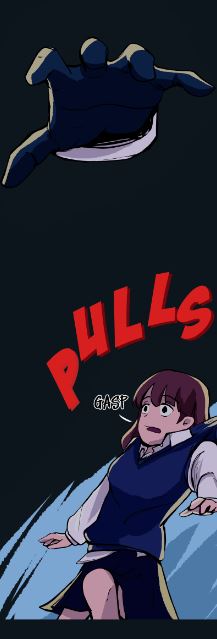
There is no rule, but I would make them on opposite sides when two people are talking. And if it’s an important scene, I tend to make it big and take up the whole width.
Space the drawings out so it’s easier to scroll and not everything is on one screen. It allows your reader to breathe and gives the scene more impact.
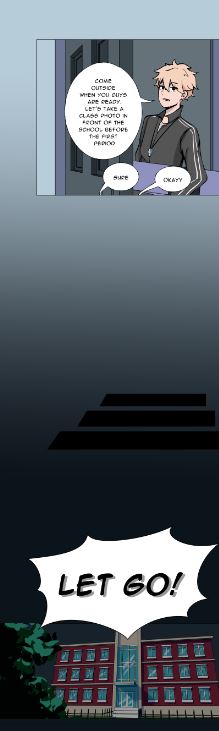
Sometimes, it would not flow properly (like the scene changes or it becomes day to night), so you could use gradients or change the colors to make it flow better.
Conclusion
And that is how I make my webcomic pages into scroll format for Webtoons and Tapas! I glossed over a lot of matters, but I want to make it as easy as possible. If you have any questions, you can ask me on Twitter! Hopefully, this quick guide was helpful!
Check out my Webcomic “Broken Mirage”!
Prefer Scroll Format? You can read it on Webtoons and Tapas!
Bearumha’s Social Media
Support